The “Problem”
We’ve moved from California to Chicago, and our new place came with an included TV / soundbar combo in the living room. It’s a 75″ Sammy TV – sort of hung in the middle of the wall so it “needed” some sort of media side-board/credenza/buffet underneath to balance the wall. I lived with the media hutch for about a week. Then thought: “I have low slung media credence and an available input on the soundbar – it needs a turntable on top”.
The soundbar is a Samsung 2.1 jobbie that is coupled to the TV by HDMI/eARC – which leaves a spare HDMI input open. So my plan was to connect the HDMI port to a $12 wonder ADC and run audio into the soundbar from an old Yamaha turntable.
With enough pre-amps, converter boxes and a power bar, I was able to get it all hooked up, but there was a problem.
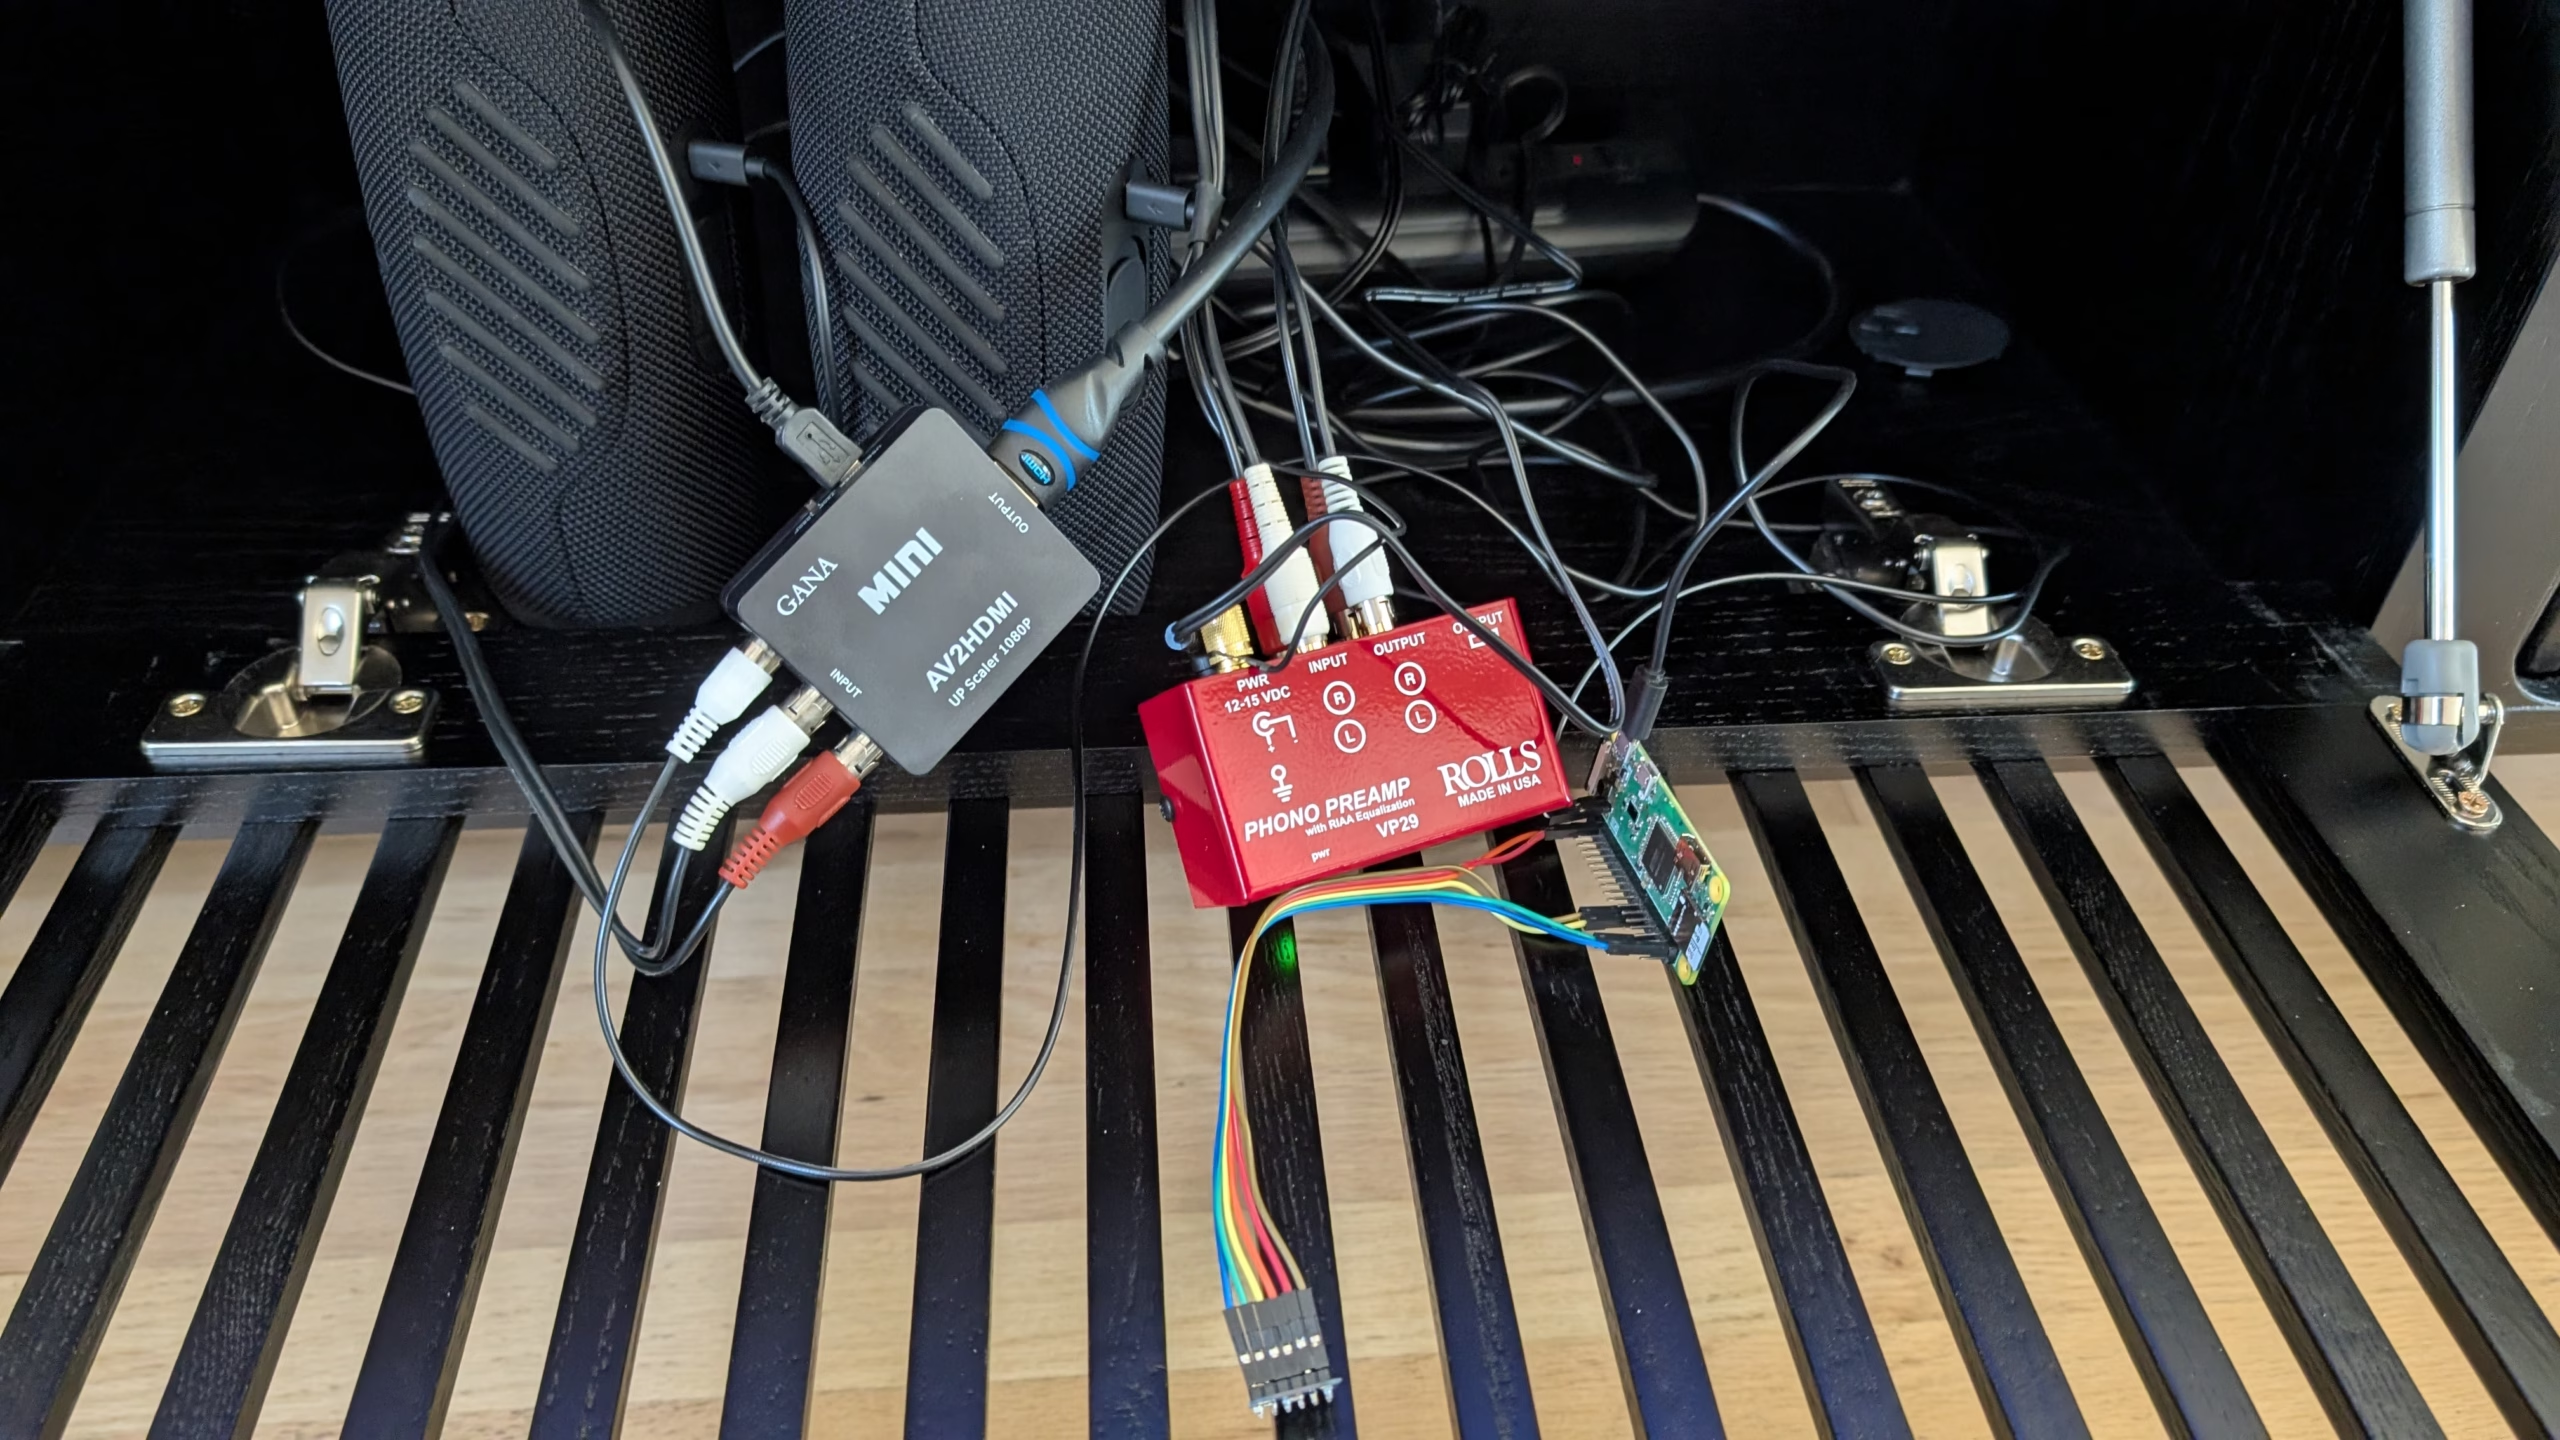
The soundbar doesn’t have independent power control – it’s tied to the TV. So to hear the turntable, the TV has to be on and displaying the video from the converter box. Weirdly, ’70s record players don’t have any sort of video output, so I just left it unconnected on the converter. But that means the converter outputs a blue screen saying “No Signal” – gross.

My Kingdom for a Composite Source
Now I had free composite video input and nothing to hang off of it. Maybe I could build something with a Pi Zero to show on the screen while I listen to my records. So after asking Gemini the wrong question (how to convert – rpi convert HDMI to composite?) it pointed out that my pi zero already has composite output – der. You just have to solder some pins on there and (after a wasted Saturday) bob’s ur uncle.
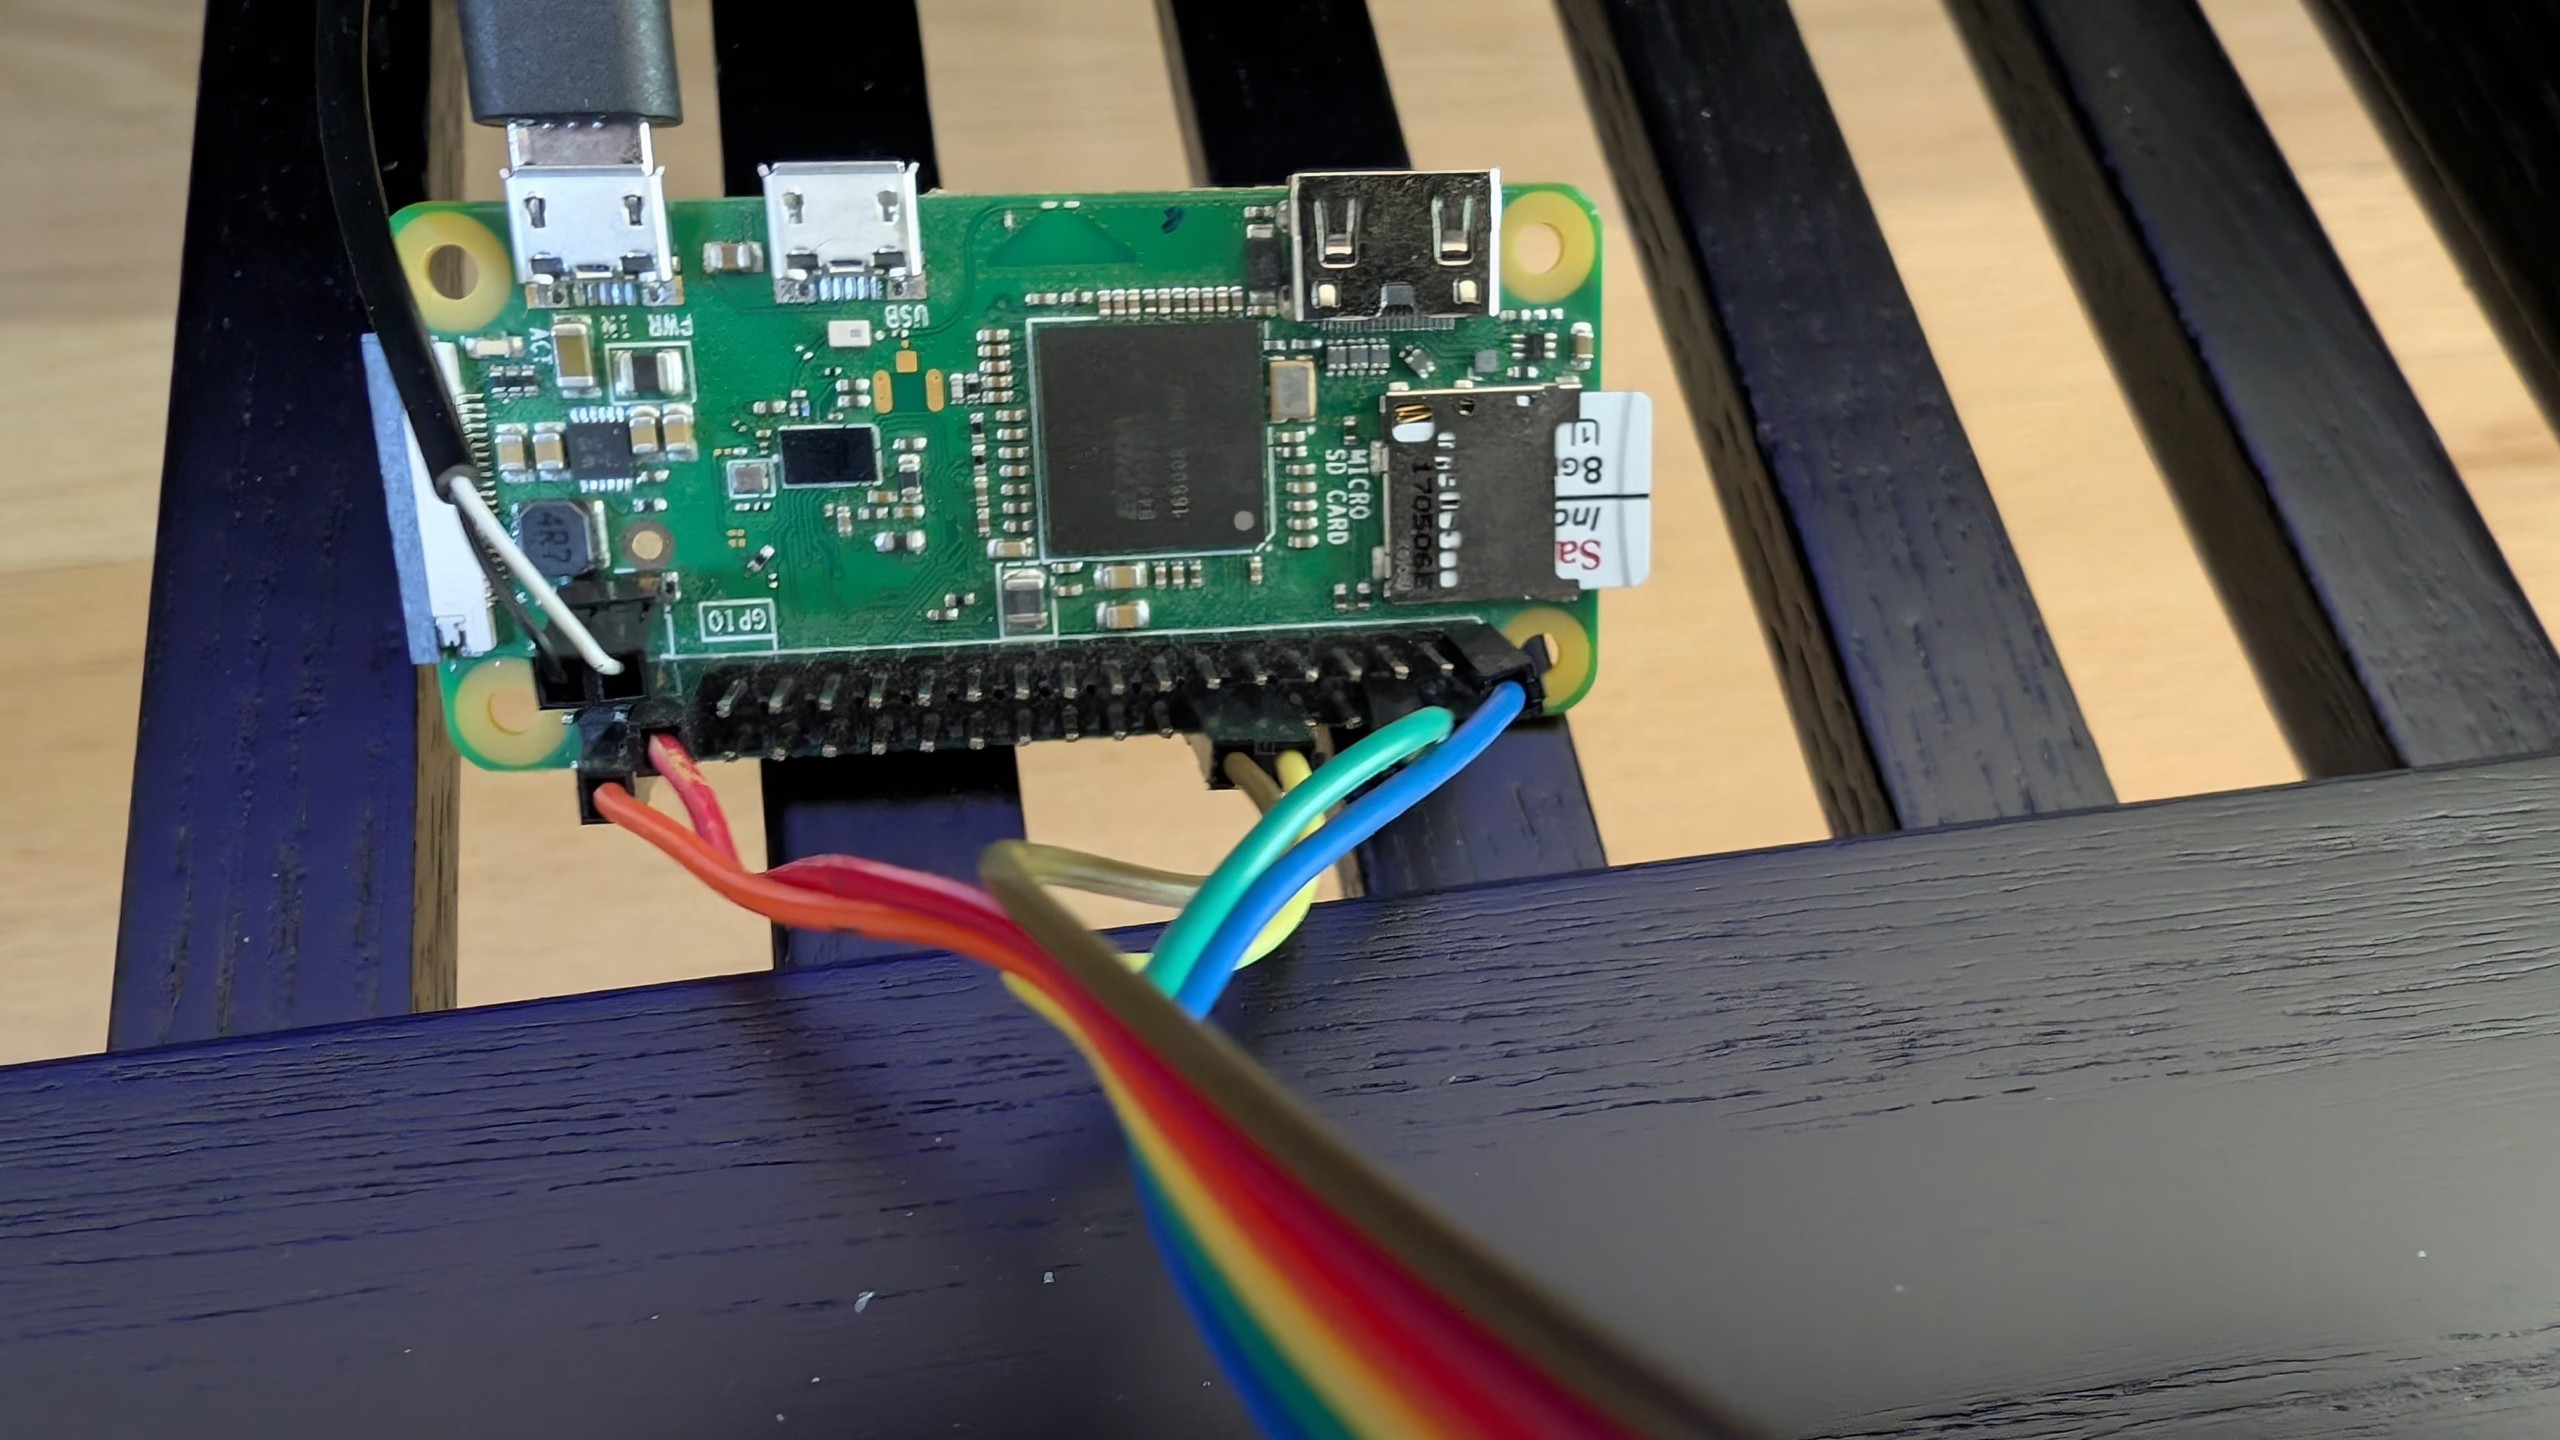
The rPi doesn’t output composite video without some OS configuration. So I flashed a copy or Raspberry Pi OS (Legacy, 32-bit) onto a 8GB microsd card and booted up the computer. I used the rPi imager and enabled SSH and wifi in the settings. To get composite output, you have to fiddle with the boot configuration:
In /boot/firmware/config.txt is have settings like this:
...
dtoverlay=vc4-kms-v3d,noaudio,composite
...
sdtv_mode=0
hdmi_ignore_hotplug=1
sdtv_aspect=3
This disables HDMI audio output and enables composite video. There’s some standard def TV settings to – this basically gets me a 720×480 (interlaced?) output to feed to the HDMI converter box. sdtv_mode=0 is for NTSC.
I also had to hack on the kernel cmdline.txt to add this on the end of the command
video=Composite-1:720x480@60ie,margin_top=40,margin_right=40,margin_bottom=40,margin_left=40
This sets a video mode and crops in the margins a bit – the picture getting to the TV was too big in all directions the margin settings trim it back in.
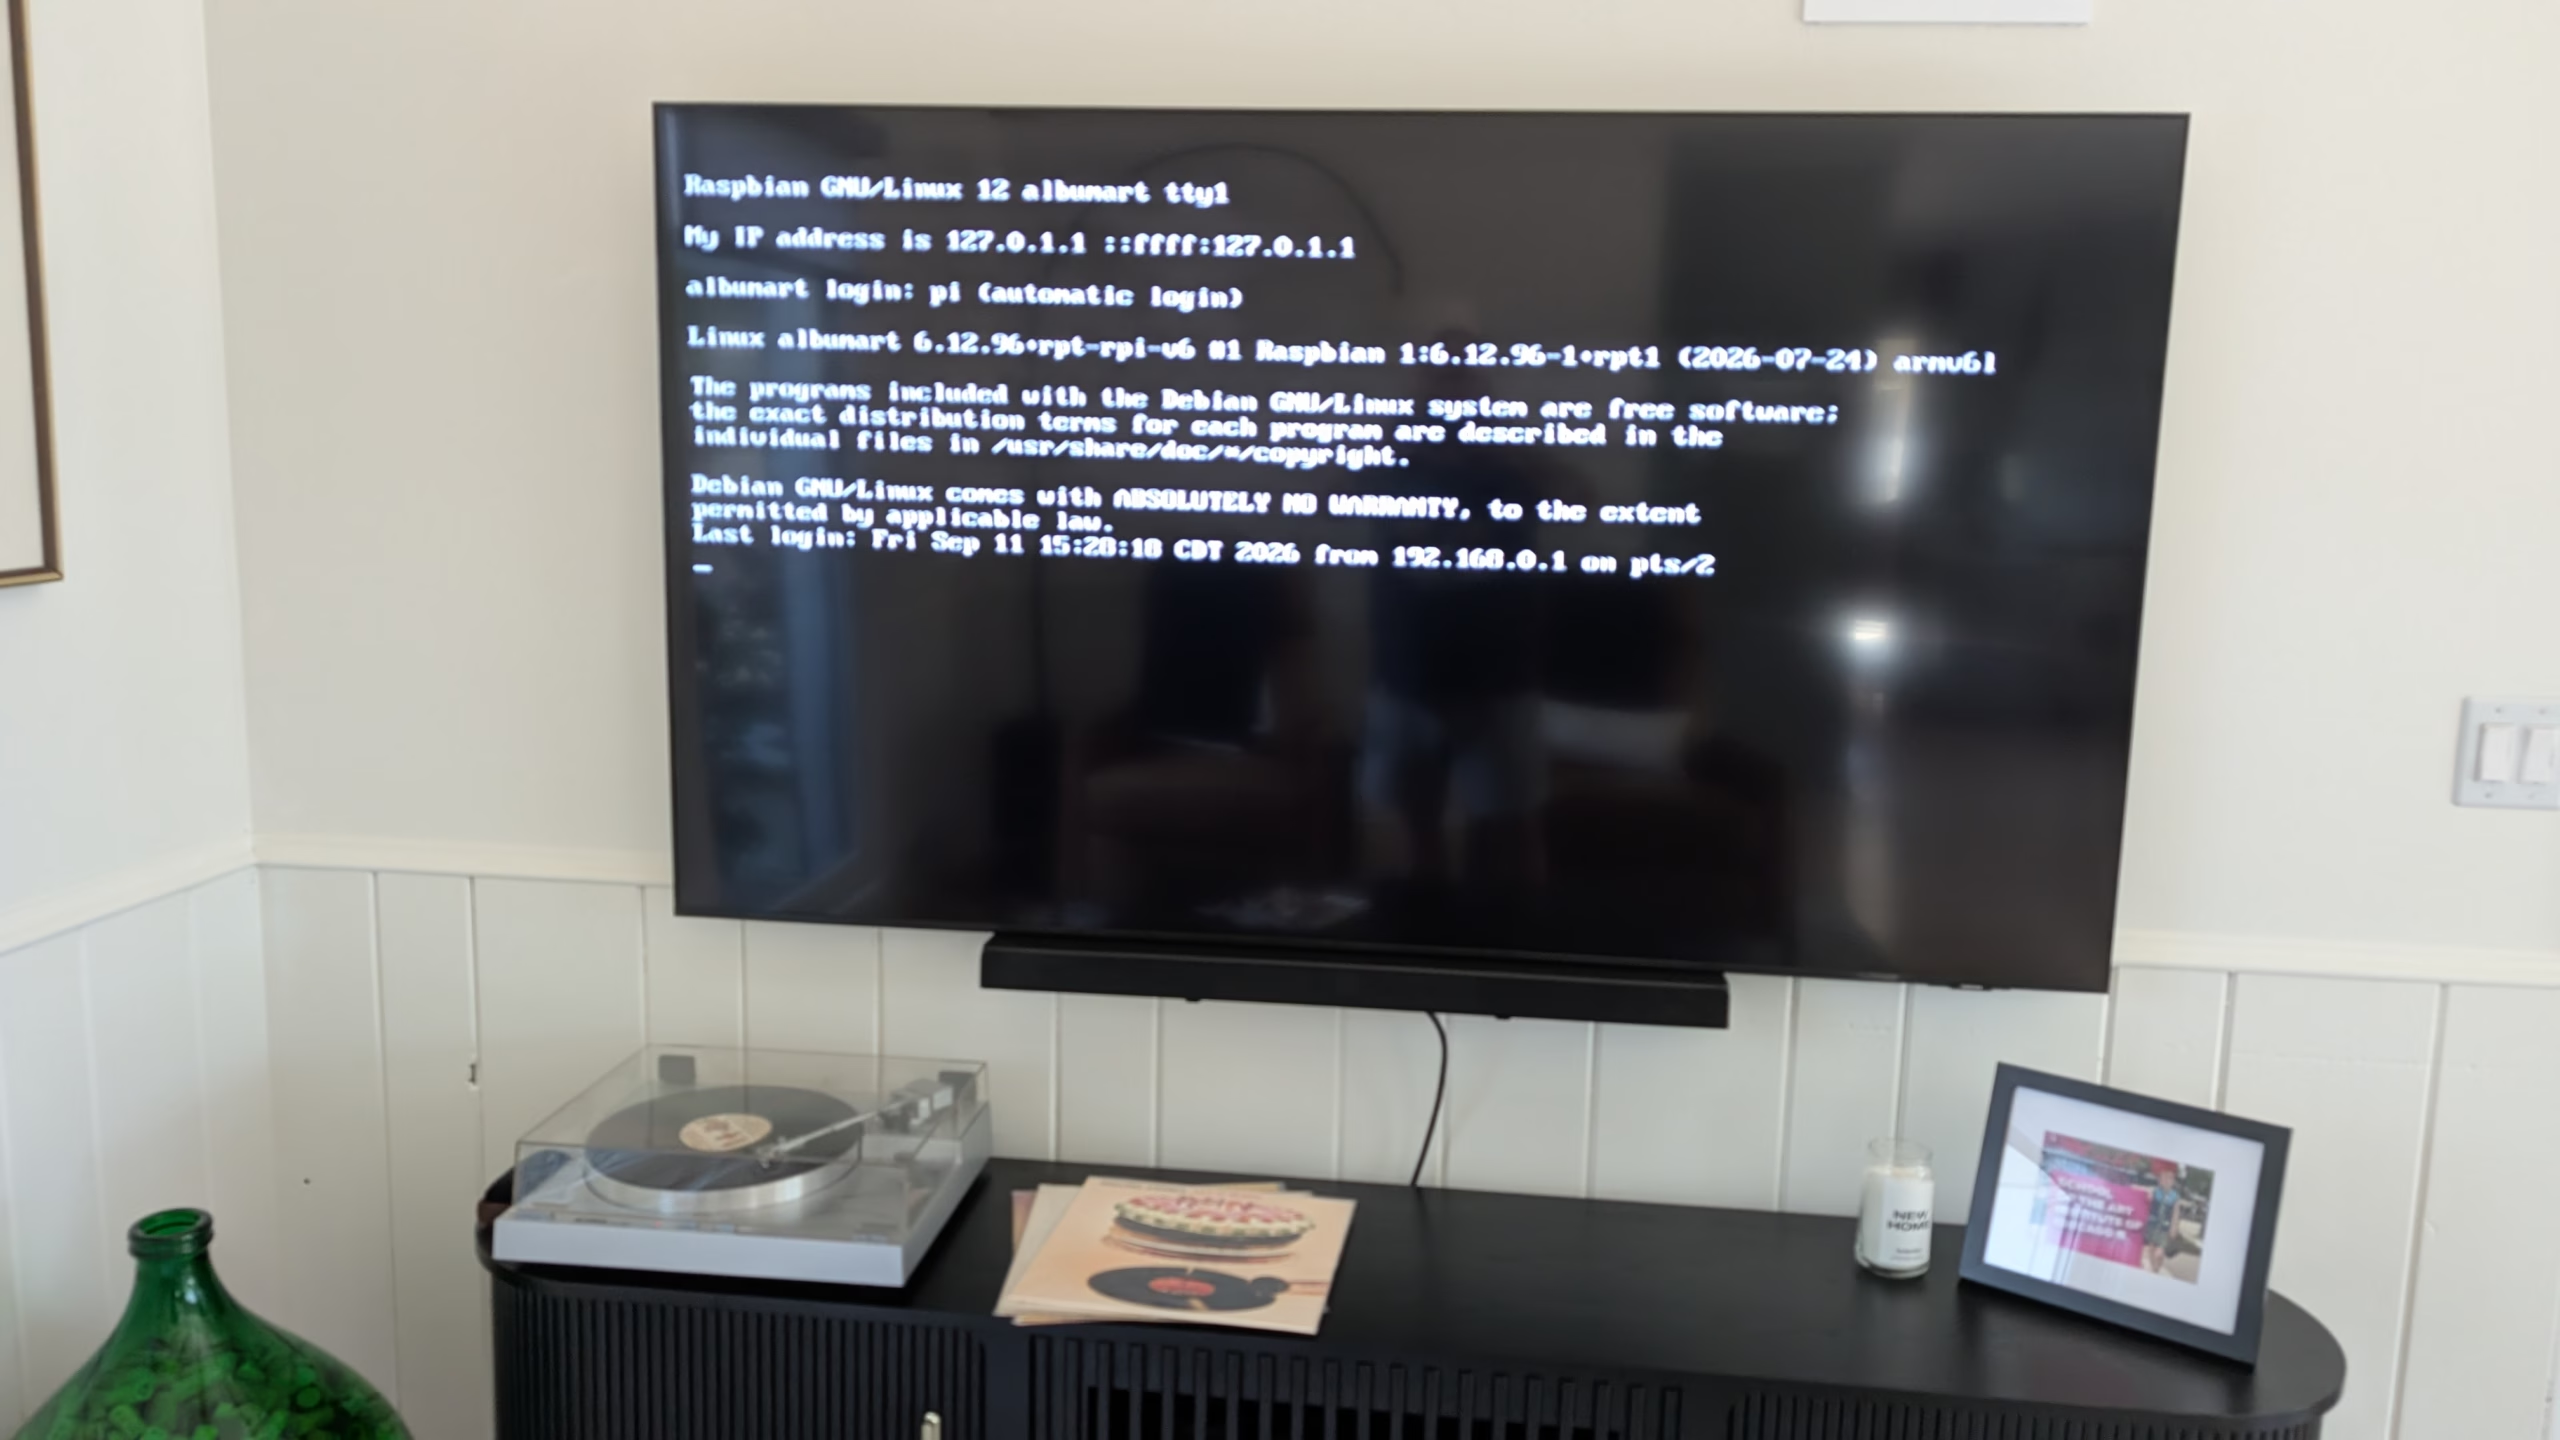
With all that set, I could boot to the rPi lxde desktop which was an improvement over the No Signal screen1. It’s really low resolution for that TV, (sort of like watching VHS on your fancy TV).
Audio Input
Initially I thought I’d write a python script to listen and pick album art by calling shazamio. I got that script mostly working on my laptop, getting and running python on the pizero seemed like a bit much. Then I though maybe I could get a Milkdrop (linux Winamp for Grandpa) style visualizer going. Either way, I was gonna need some audio input to feed the thing. There are USB microphones that work great with Raspberry PI OS, but with a pizero you’d need a OTG cable and the mic – so you’re probably well into $30 for the mic. I opted for this i2S MEMS instead.
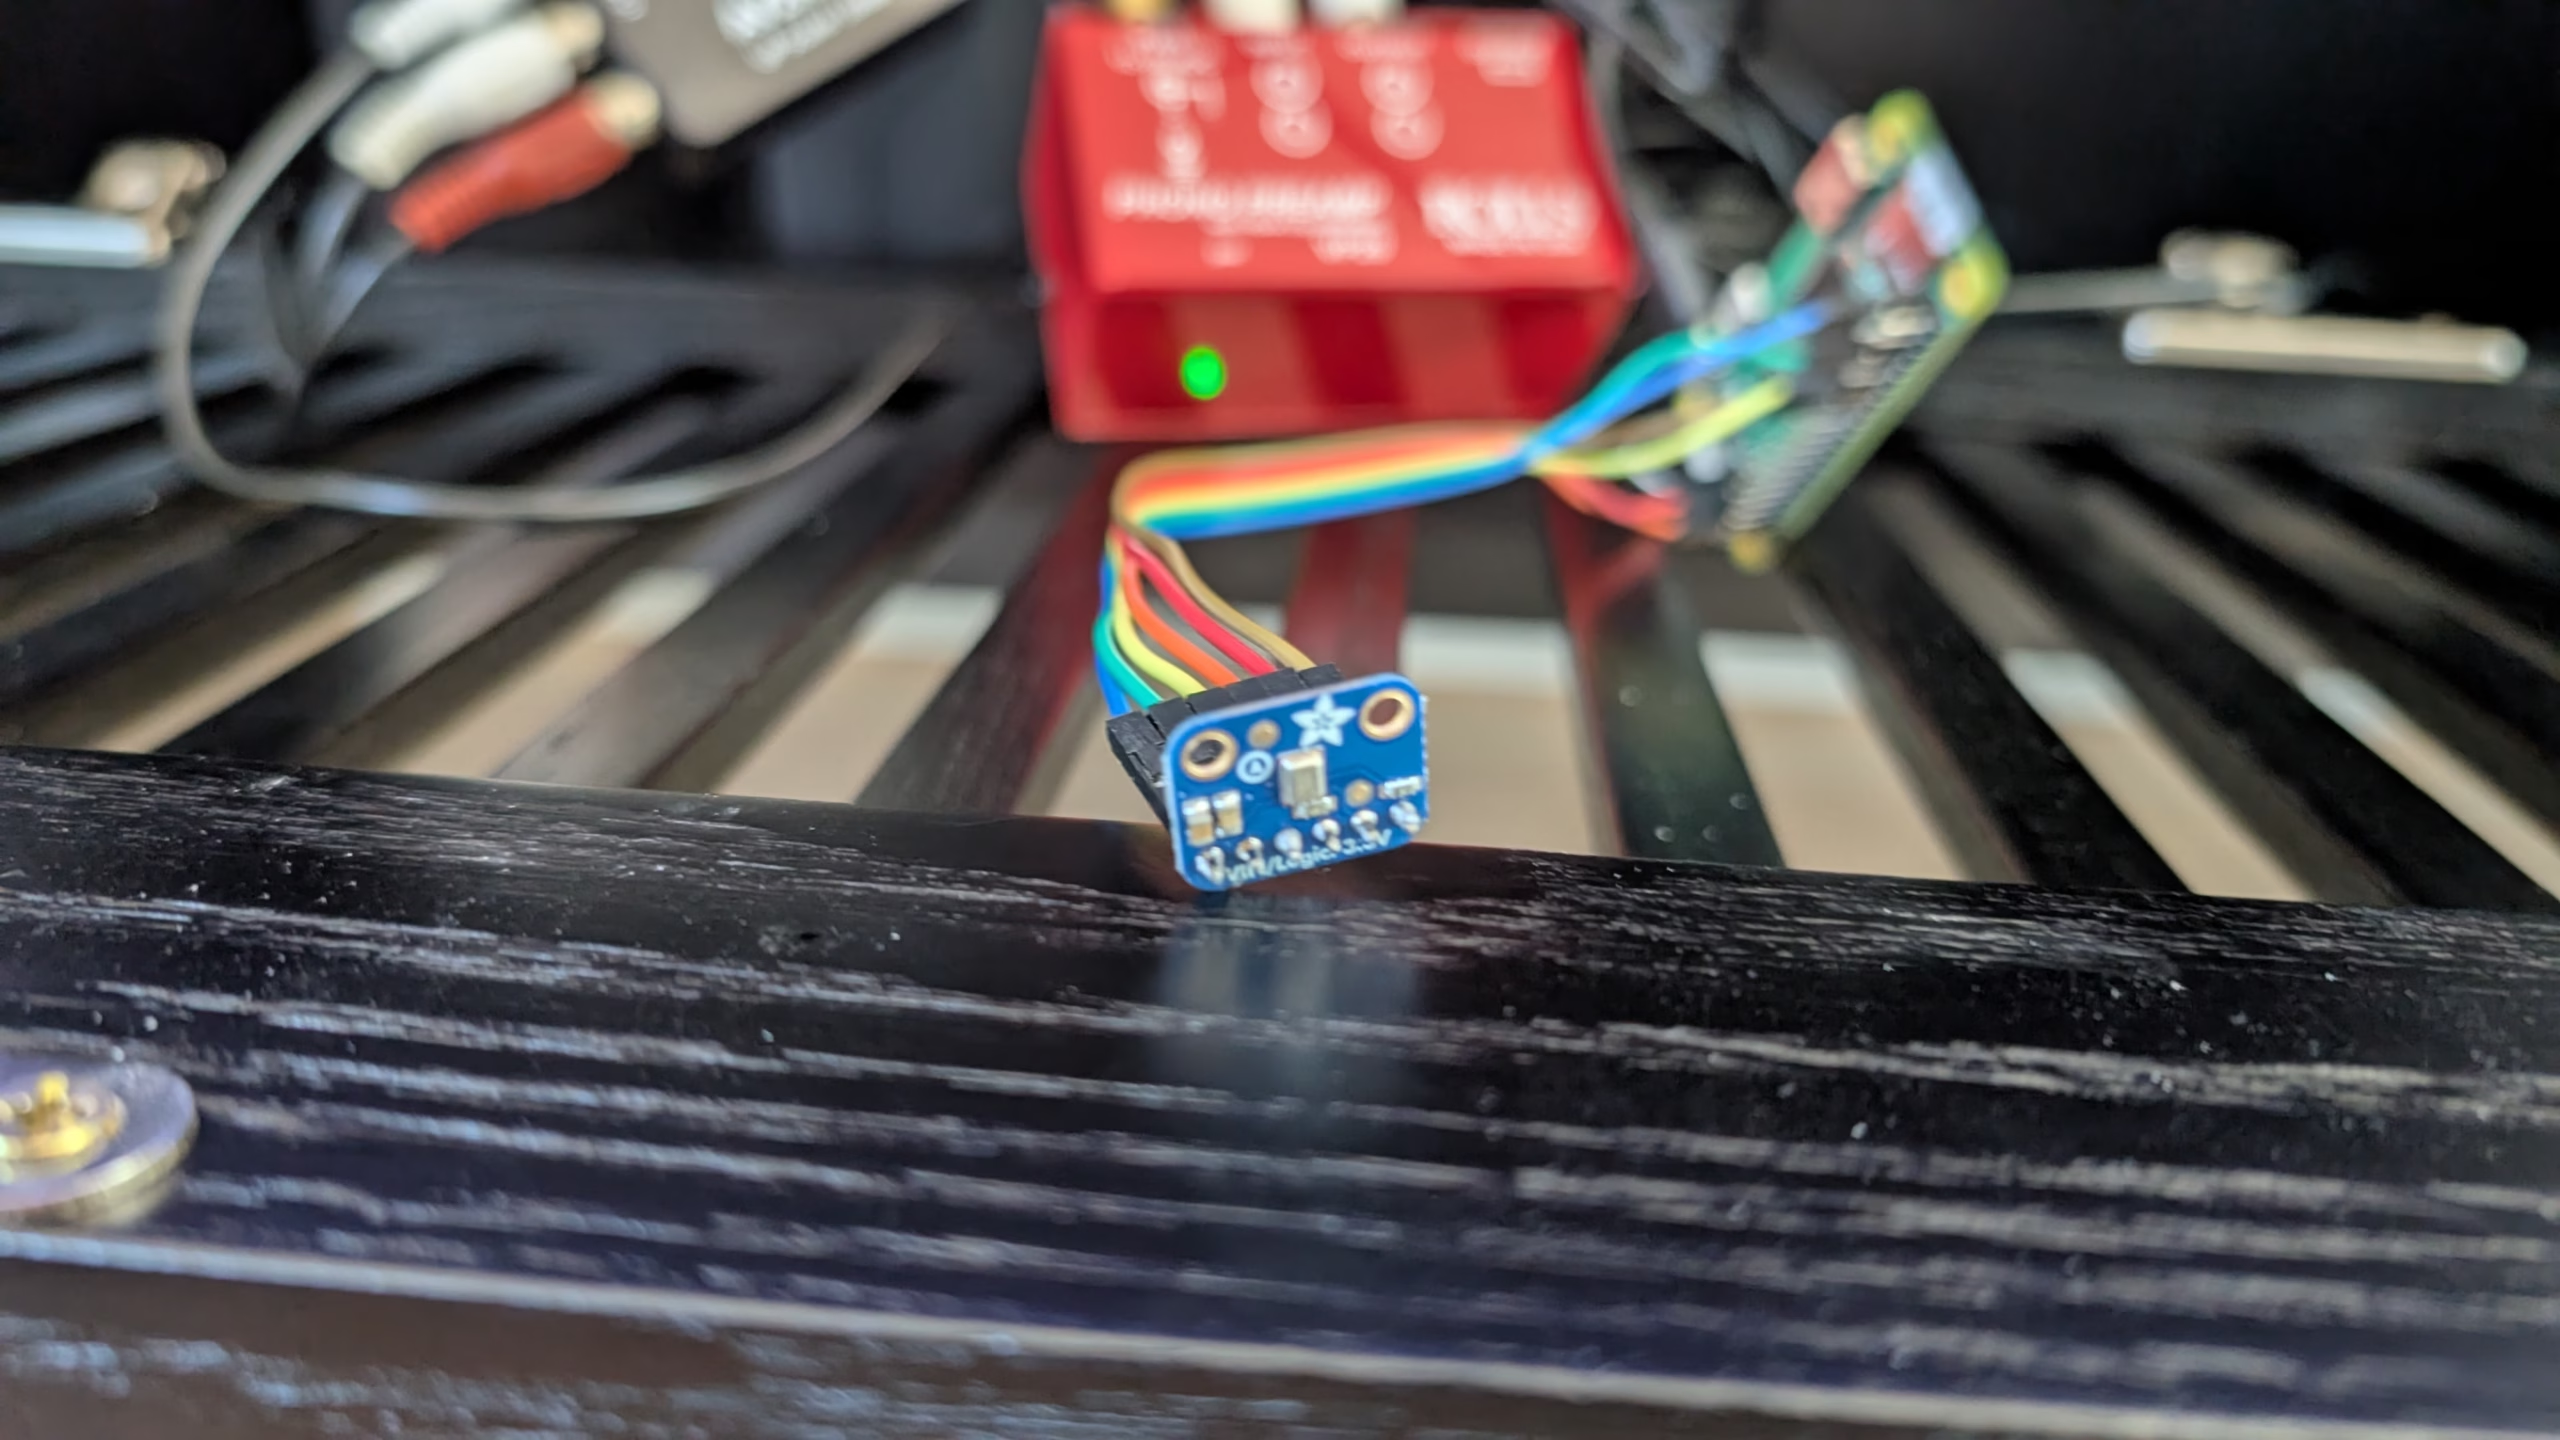
Then put pin headers on the pizero and connected it up (the ribbon cable in the image above).
Back into the /boot/firmware/config.txt file to enable the device:
dtparam=i2s=on
dtoverlay=googlevoicehat-soundcard
Then setup some alsa configs in /etc/asound.conf
cm.mic_hw {
    type hw
    card 0         # <--- CHANGE THIS: Your Google Voice HAT card number
    device 0       # Usually 0 for this device
    channels 2     # Google Voice HAT mic is stereo
    format S32_LE  # Common format; can use S32_LE if your mic supports it better
    rate 48000     # Common sample rate for AIY HAT mic
}
# Define the software volume control layer
pcm.mic_sv {
    type softvol
    slave {
        pcm "mic_hw"
    }
    control {
        name "Mic Capture Volume"
        card 0 # <--- USE THE SAME CARD NUMBER AS ABOVE
    }
    min_dB -3.0   # Minimum dB gain
    max_dB 20.0   # Maximum dB gain - You can go higher if needed
    resolution 256
}
# Make this new software volume device the default for capture
pcm.!default {
    type asym
    playback.pcm "default"  # Keep default playback (e.g., HDMI)
    capture.pcm "mic_sv"    # Use our softvol device for capture
}
Then crank the volume with alsamixer....
Visualizer
In reality, Milkdrop or similar hw accelerated visuals were gonna be out of the question on a pi zero. What I found eventually was Cava. No python version/dependency hassle (I was gonna have to build a more recent version of python on the pi to get my album art script working - yuck) - no external GPU - no internet API listening to everything you are saying. Cava shows spectrum analyzer output as ncurses characters in a terminal so it runs on low spec hw.
With that selected, I was gonna need to have the pi automatically login to the desktop:
sudo raspi-config
System Options -> Auto Login
And allow auto login to the console and desktop.
Great now I needed a full screen terminal and the cava program:
sudo apt install -y cava terminator
My config file for cava looks like this (in /home/pi/.config/cava/config):
# Configuration file for CAVA. Default values are commented out. Use either ';' or '#' for commenting.

[general]

# Smoothing mode. Can be 'normal', 'scientific' or 'waves'. DEPRECATED as of 0.6.0
; mode = normal

# Accepts only non-negative values.
framerate = 60

# 'autosens' will attempt to decrease sensitivity if the bars peak. 1 = on, 0 = off
# new as of 0.6.0 autosens of low values (dynamic range)
# 'overshoot' allows bars to overshoot (in % of terminal height) without initiating autosens. DEPRECATED as of 0.6.0
autosens = 1
overshoot = 100

# Manual sensitivity in %. If autosens is enabled, this will only be the initial value.
# 200 means double height. Accepts only non-negative values.
sensitivity = 100

# The number of bars (0-200). 0 sets it to auto (fill up console).
# Bars' width and space between bars in number of characters.
; bars = 0
; bar_width = 2
; bar_spacing = 1


# Lower and higher cutoff frequencies for lowest and highest bars
# the bandwidth of the visualizer.
# Note: there is a minimum total bandwidth of 43Mhz x number of bars.
# Cava will automatically increase the higher cutoff if a too low band is specified.
lower_cutoff_freq = 30
higher_cutoff_freq = 11000


# Seconds with no input before cava goes to sleep mode. Cava will not perform FFT or drawing and
# only check for input once per second. Cava will wake up once input is detected. 0 = disable.
; sleep_timer = 0


[input]

# Audio capturing method. Possible methods are: 'pulse', 'alsa', 'fifo', 'sndio' or 'shmem'
# Defaults to 'pulse', 'alsa' or 'fifo', in that order, dependent on what support cava was built with.
#
# All input methods uses the same config variable 'source'
# to define where it should get the audio.
#
# For pulseaudio 'source' will be the source. Default: 'auto', which uses the monitor source of the default sink
# (all pulseaudio sinks(outputs) have 'monitor' sources(inputs) associated with them).
#
# For alsa 'source' will be the capture device.
# For fifo 'source' will be the path to fifo-file.
# For shmem 'source' will be /squeezelite-AA:BB:CC:DD:EE:FF where 'AA:BB:CC:DD:EE:FF' will be squeezelite's MAC address
; method = pulse
; source = auto

method = alsa
; source = hw:Loopback,1
source = hw:0,0

; method = fifo
; source = /tmp/mpd.fifo
; sample_rate = 44100
; sample_bits = 16

; method = shmem
; source = /squeezelite-AA:BB:CC:DD:EE:FF

; method = portaudio
; source = auto


[output]

# Output method. Can be 'ncurses', 'noncurses' or 'raw'.
# 'noncurses' uses a custom framebuffer technique and draws only changes
# from frame to frame. 'ncurses' is default if supported
#
# 'raw' is an 8 or 16 bit (configurable via the 'bit_format' option) data
# stream of the bar heights that can be used to send to other applications.
# 'raw' defaults to 200 bars, which can be adjusted in the 'bars' option above.
; method = ncurses

# Visual channels. Can be 'stereo' or 'mono'.
# 'stereo' mirrors both channels with low frequencies in center.
# 'mono' outputs left to right lowest to highest frequencies.
# 'mono_option' set mono to either take input from 'left', 'right' or 'average'.
channels = mono
mono_option = average

# Raw output target. A fifo will be created if target does not exist.
; raw_target = /dev/stdout

# Raw data format. Can be 'binary' or 'ascii'.
; data_format = binary

# Binary bit format, can be '8bit' (0-255) or '16bit' (0-65530).
; bit_format = 16bit

# Ascii max value. In 'ascii' mode range will run from 0 to value specified here
; ascii_max_range = 1000

# Ascii delimiters. In ascii format each bar and frame is separated by a delimiters.
# Use decimal value in ascii table (i.e. 59 = ';' and 10 = '\n' (line feed)).
; bar_delimiter = 59
; frame_delimiter = 10

[color]
# Colors can be one of seven predefined: black, blue, cyan, green, magenta, red, white, yellow.
# Or defined by hex code '#xxxxxx' (hex code must be within ''). User defined colors requires
# ncurses output method and a terminal that can change color definitions such as Gnome-terminal or rxvt.
# if supported, ncurses mode will be forced on if user defined colors are used.
# default is to keep current terminal color
; background = default
; foreground = default

# Gradient mode, only hex defined colors (and thereby ncurses mode) are supported,
# background must also be defined in hex  or remain commented out. 1 = on, 0 = off.
# You can define as many as 8 different colors. They range from bottom to top of screen
gradient = 1
gradient_count = 7
gradient_color_1 = '#8b00ff'
gradient_color_2 = '#4b0082'
gradient_color_3 = '#0000ff'
gradient_color_4 = '#00ff00'
gradient_color_5 = '#ffff00'
gradient_color_6 = '#ff7f00'
gradient_color_7 = '#ff0000'

[smoothing]

# Percentage value for integral smoothing. Takes values from 0 - 100.
# Higher values means smoother, but less precise. 0 to disable.
integral = 70

# Disables or enables the so-called "Monstercat smoothing" with or without "waves". Set to 0 to disable.
monstercat = 1
waves = 1

# Set gravity percentage for "drop off". Higher values means bars will drop faster.
# Accepts only non-negative values. 50 means half gravity, 200 means double. Set to 0 to disable "drop off".


# In bar height, bars that would have been lower that this will not be drawn.
ignore = 2

noise_reduction = 60


[eq]
# This one is tricky. You can have as much keys as you want.
# Remember to uncomment more then one key! More keys = more precision.
# Look at readme.md on github for further explanations and examples.
1 = 1 # bass
2 = 1
3 = 1 # midtone
4 = 1
5 = 2 # treble
Cava configuration is a bit of a black-hole - I spent a lot of time trying to tweak the smoothing and colors - basically the look and feel. The critically git is the [sound] config where I hook up the alsa hw:0.0 device I created earlier. I also set autosens since the dynamics into the microphone vary widely. monstercat and waves just cause I thought they look cool.
to get a fullscreen terminal with no decorations I configured terminator like this (in /home/pi/.config/terminator/config)
global_config]
  tab_position = hidden
  hide_tabbar = True
  handle_size = 0
  window_state = fullscreen
  borderless = True

[profiles]
  [[default]]
    show_titlebar = False
    scrollbar_position = disabled
Finally to have it run when the desktop starts up I added /home/pi/.config/autostart/cava.desktop:
Desktop Entry]
Type=Application
Name=Cava Terminal
Exec=/usr/bin/terminator --config /home/pi/.config/terminator/config --fullscreen --maximize --borderless  -e "/usr/bin/cava -p /home/pi/.config/cava/config"
Terminal=false
After a couple reboots and some trial and error I finally to the screen too look like this:
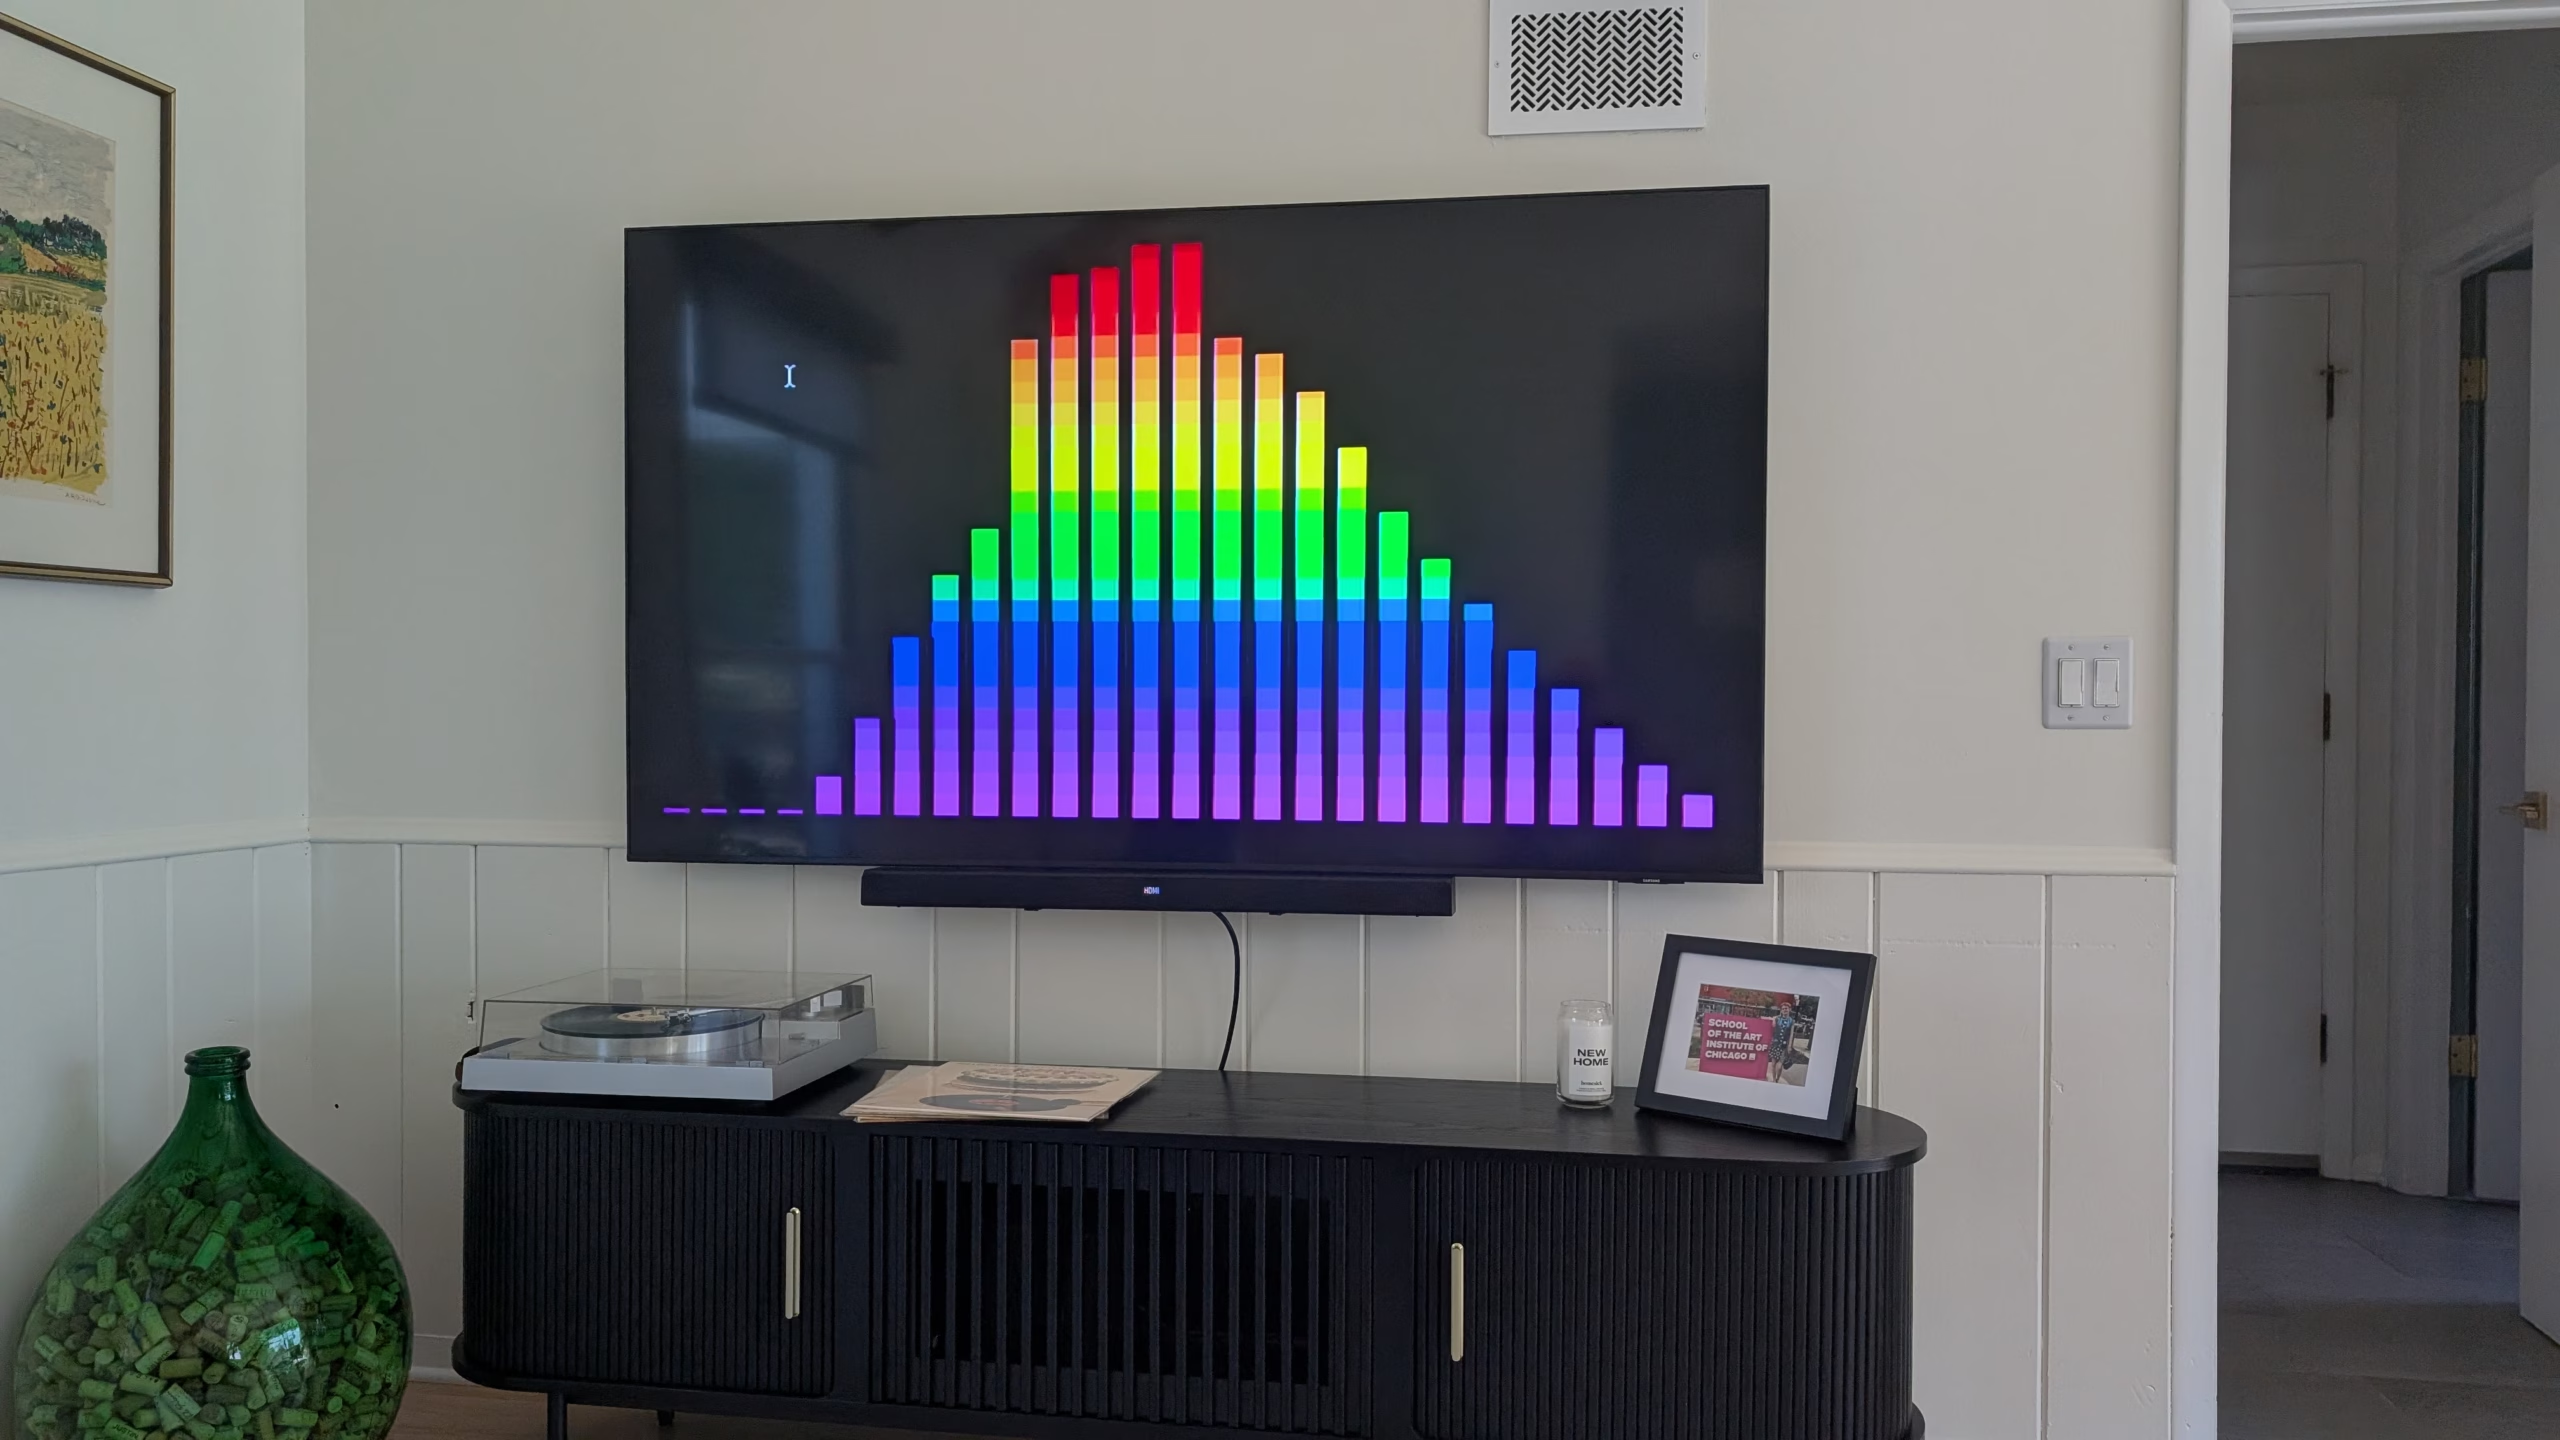
Its basically listening to sound in the room and trying to display the frequency spectrum of the sound. It's not perfect but much better than the blue screen I started with.
Play it loud...
- well not exactly - I've never hooked up a keyboard/mouse on this computer I just ssh into it - so to get to the desktop, I had to use raspi-config to automate the login ↩︎